Random fact about me: I really love soup. In fact, I love my soup so much that my half-Cantonese husband thinks that I am more Cantonese than him in that respect!
While Chinese soups definitely rank among my favourites, I also have a soft spot for Tomato Soup. So when the husband piped up requested some soup over the weekend a couple of weeks back, I took it as my opportunity to whip up my own tomato soup to accompany our meal.
(The husband, who really just wanted me to open a can of Campbell's, rolled his eyes.)
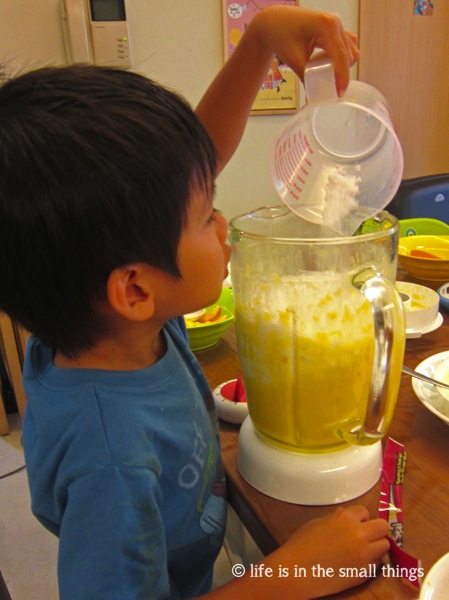
On this occasion, I decided to try Jamie Oliver's basic Tomato Soup recipe, which I've been meaning to try. Seemed appropriate too, since I was going to be putting my Jamie Oliver Blender to the test. I have a hand blender which I regularly use when making pureed soups, but with a regular - and more powerful - blender now, I was curious to see how it would compare.

The steps weren't complicated, but surprise surprise, Tomato Soup isn't just made from tomatoes. Indeed, a good number of other vegetables like carrots, celery, onions and garlic help to give the soup the body to round it out. Sweet tomatoes really do make a difference though. I used the Momotaro tomatoes from the supermarket in addition to tinned Roma tomatoes.
And the final verdict? The husband grudgingly told me that the soup was "quite nice". Meips found it a bit too sour for her tastebuds -- she doesn't take to sour tastes AT ALL -- but Noey loved it and happily dipped his toast in finished up most of his portion. I found it quite tangy and full of tomato flavour, which I love. I also liked the fact that I got a really smooth soup with the blender. Previously when using a hand blender, try as I might, there was always a piece of two of something that escaped blending that I'd end biting into. This time, there were no such lumps. That said, it was more inconvenient ladling hot soup into the blender as compared to sticking a hand blender into the pot. That's the trade-off I guess!
The blender also didn't completely do away with some celery fibres and the tomato seeds, so the next time I do this, I'm probably going to strain the soup after blending to get rid of these bits.
I had some leftovers for lunch the next day, and I decided to add a dollop of cream to my bowl, and I really liked it. I felt the cream rounded off the sharpness of the tomato in a good way. Try it - you might like it.
Tomato Soup (adapted from the recipe by Jamie Oliver)
(Serves 6-8)
Ingredients:
2 carrots, roughly chopped
2 sticks of celery, roughly chopped
2 medium onions, roughly chopped
2 cloves of garlic, peeled and sliced
2 tablespoons olive oil
1.5 litres of chicken or vegetable stock
400g tinned plum tomatoes
3 large ripe tomatoes
1 small bunch of fresh basil
Salt and Pepper, to taste.
Method:
1. Put a large pot on medium heat and add the olive oil. Then add the carrots, celery, onions and garlic and mix together with a wooden spoon.

2. Continue to cook the vegetables in the pot for around 10-15 minutes, until the carrots have softened but are still holding their shape, and the onion is lightly golden.
3. Add the stock into the pot, together with your tinned and fresh whole tomatoes. (Jamie recommends including the green stalks that may still be attached the tomatoes for added flavour.) Stir and bring this to a boil.
4. Reduce the heat and simmer for 10 minutes with the lid on.
5. When the soup is ready to be served, remove the pot from the heat, season with salt and pepper and add the basil leaves.
6. Ladle soup into blender and pulse the soup until smooth. You can also use a hand blender for the same function.

7. Taste and season again before dividing between your serving bowls.

Cooking Notes:
♥ After blending the soup, you might wish to pour the soup from the blender through a strainer to remove seeds and fibres.
♥ Adding a dollop of cream to the soup right at the end makes for a creamier soup.
Enjoy the tomato-y goodness!
Click here to check out other posts in my Dinner-By-Blender series.